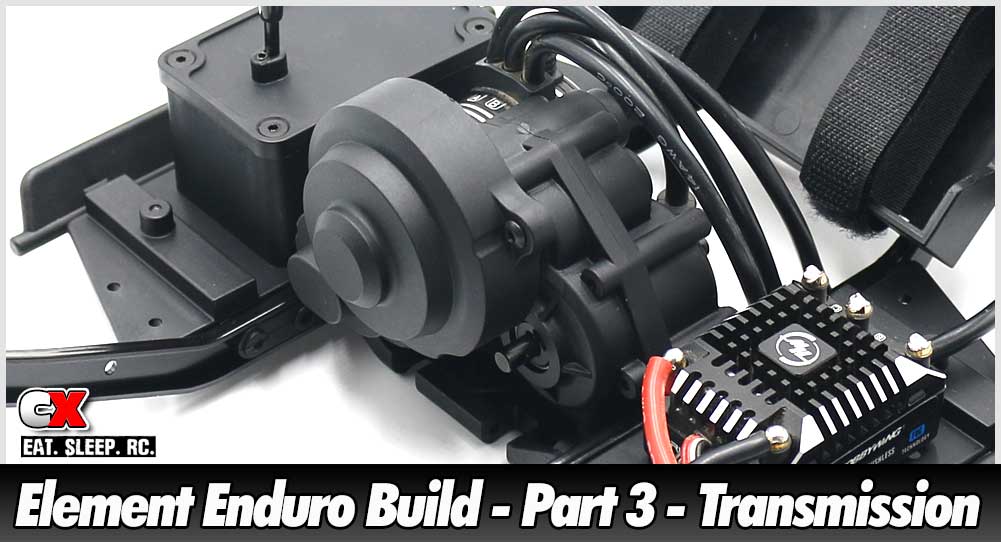

The transmission on the Enduro is actually quite unique. Dubbed the Stealth X, this transmission offers a couple different build options (specifically direction and Overdrive) depending on how you want the truck to perform.
Build Notes:
If you want to build the truck as it is out of the box, the build should be easy. If you choose to alter the Overdrive, you’ll need to pay close attention to how it all works. It’s not that difficult, but you do need to swap out two gears and mount them accordingly. Use page 24 of the manual to see the different transmission mounting and gear ratio options.
I’ll be building the truck with the motor mount facing the rear, Overdrive at 12%.
Blue threadlocker is highly suggested during these steps as well. You don’t want screws coming loose in the transmission when you’re out deep in the trails.
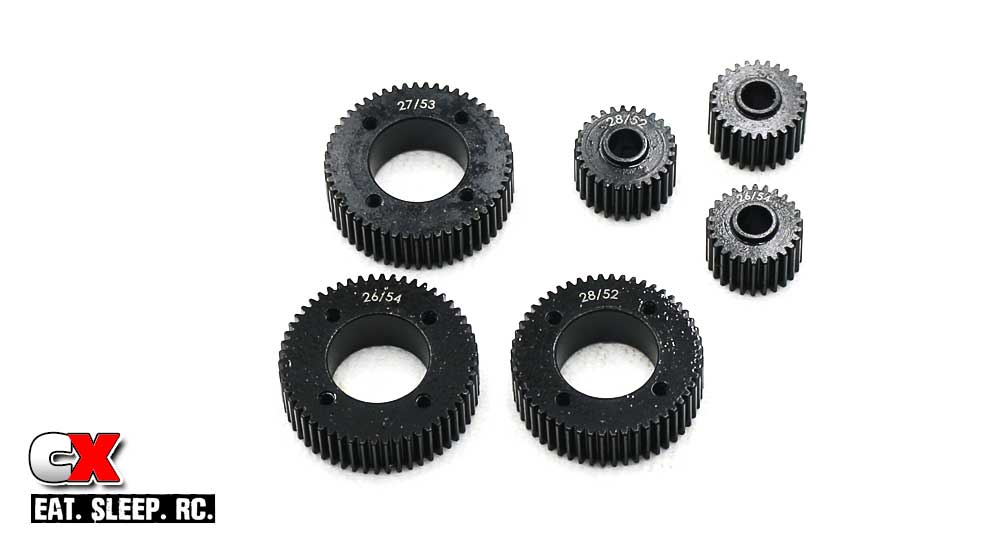
Step 1:
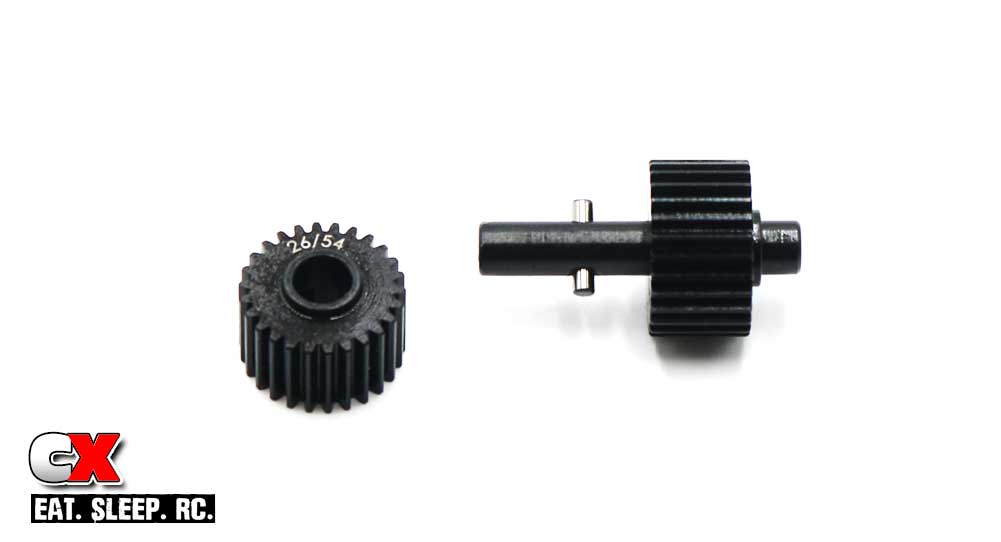
A quick look at the gears used inside the Stealth X transmission. As you can see, they’re all metal – even the gear combo is printed on all the them! Details I tell ya!
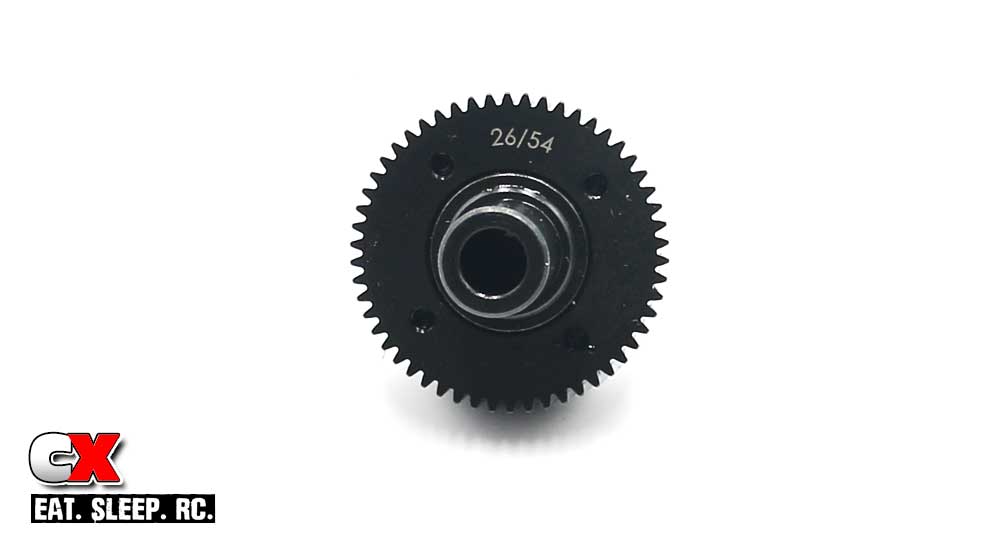
Step 2:
Assemble the rear output gear section – 26/54. Use a little bit of blue threadlocker on the screws to help keep them in place.
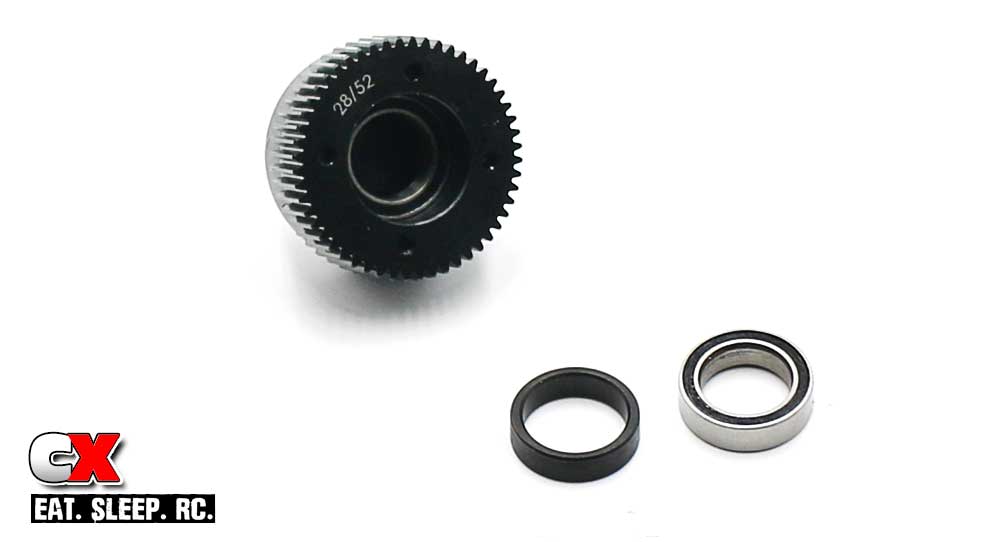
Step 3:
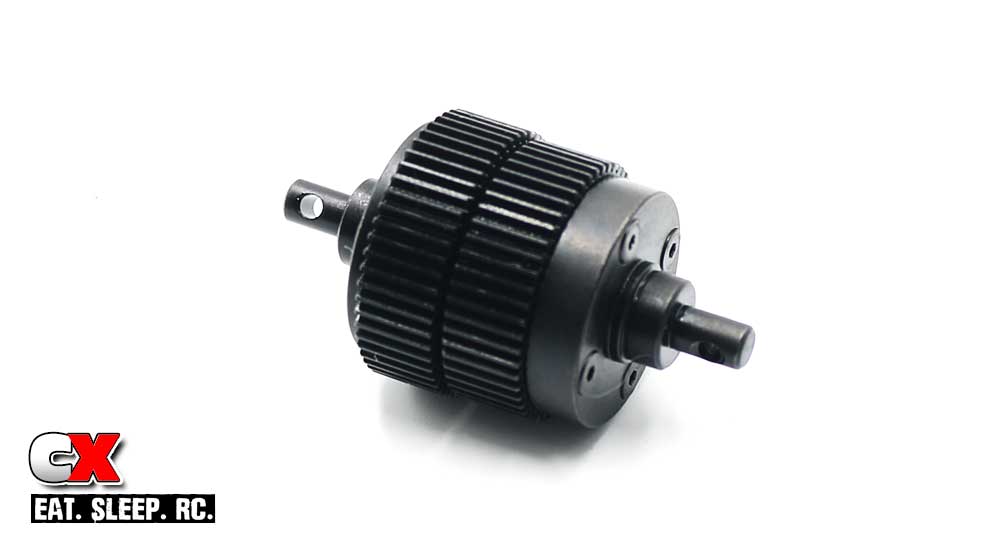
Assemble the front output gear section – 28/52 gear. You may need to firmly press the first 10×15 bearing into the gear recess. Follow that with the gear shim and second 10×15 bearing.
Step 4:
Mate the two gear assemblies together. Note the gap between the gears; if it appears a bit wide, you can tap the completed assembly on a table to help fully seat the first 10×15 bearing. I had to do this on mine to help close the gap up some.
Step 5:
Assemble the idler shaft, making sure to match the correct gears with the ones used in Steps 2 and 3.
Step 6:
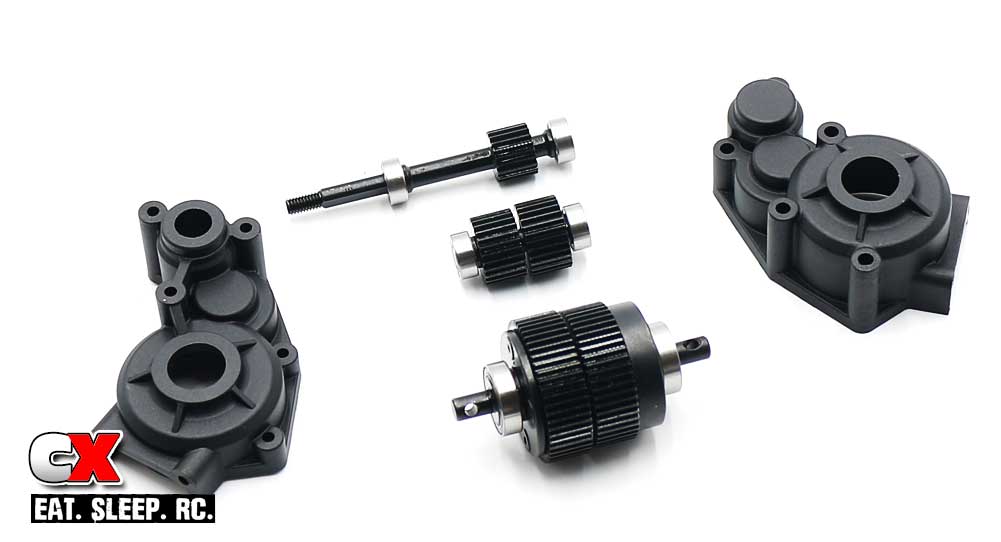
Slide the 5×10 bearings onto the top shaft and idler shaft; slide 10×15 bearings on the lower gear set.
Step 7:
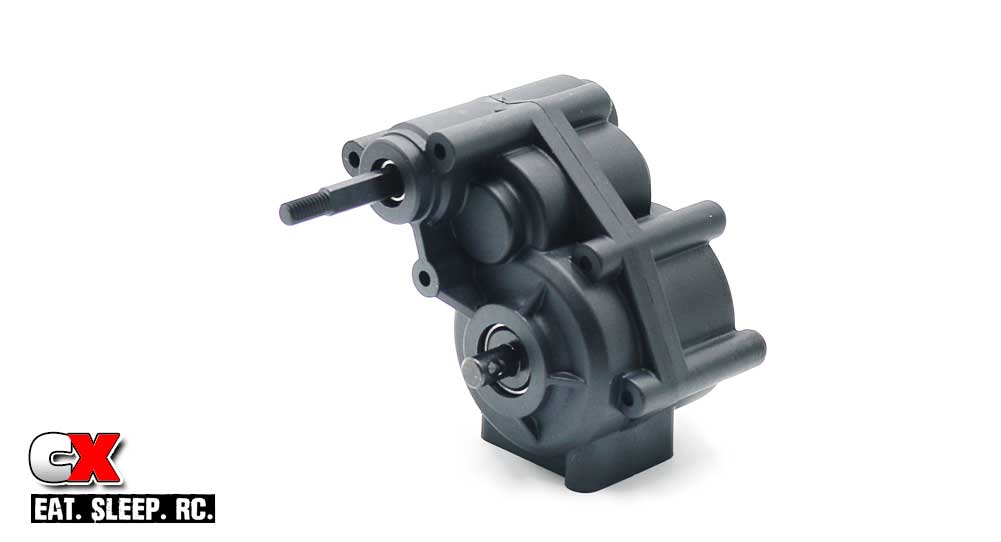
Assemble everything into the Stealth X transmission case, adding a little black grease to all the gears. If the case doesn’t slide together easily, you either need to tap on the lower gear set more to close the spacing (see Step 4) or your gear sets are not matched correctly.
If all goes together smoothly, you can secure the case with the 5 3x26mm screws.
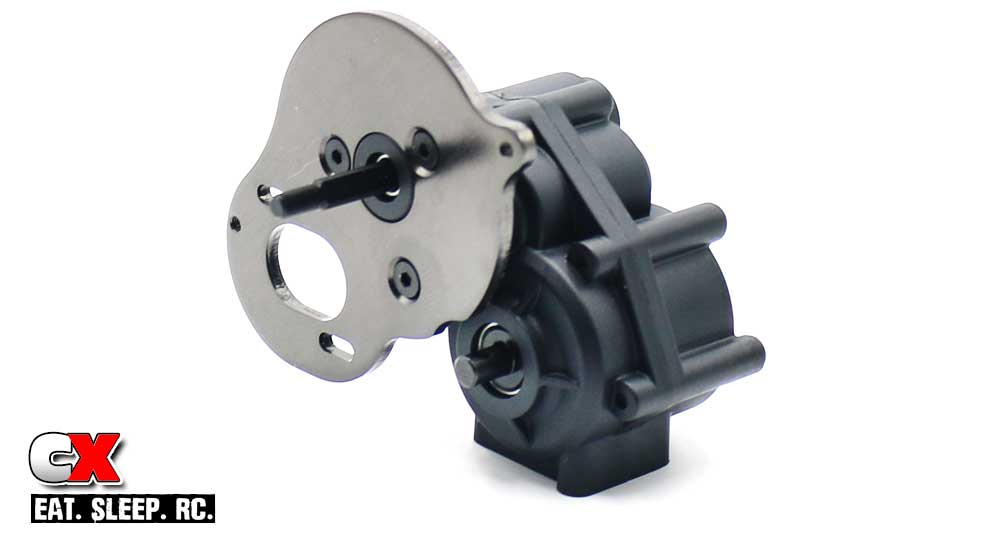
Step 8:
Attach the motor plate.
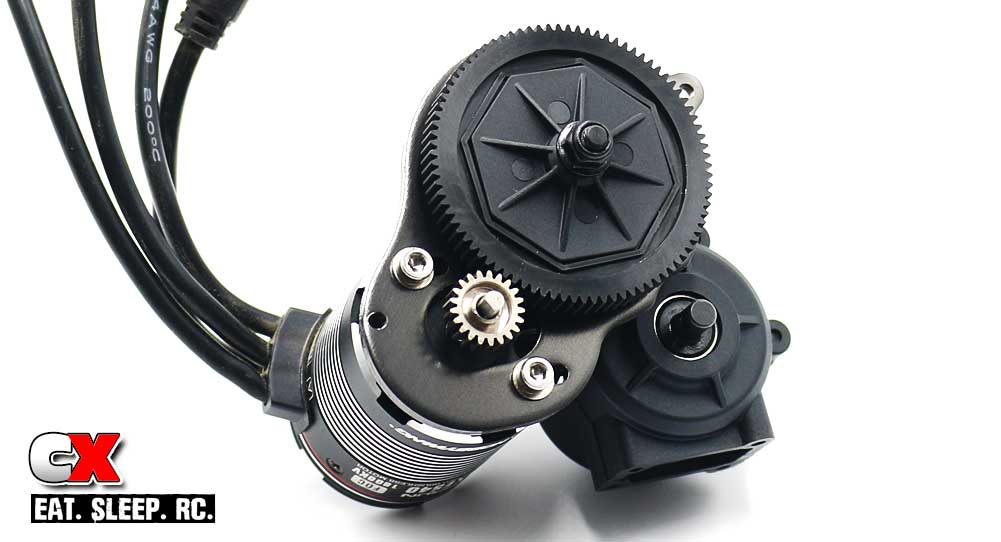
Step 9:
Assemble the spur gear and hubs onto the top shaft and secure with the M4 locknut. Mount your motor to the motor plate and attach your desired pinion.
I opted to swap out the supplied 3x8mm buttonhead screws for a larger caphead screw – I feel I can get more torque when tightening these down (to hold the motor in place). Modification #2.
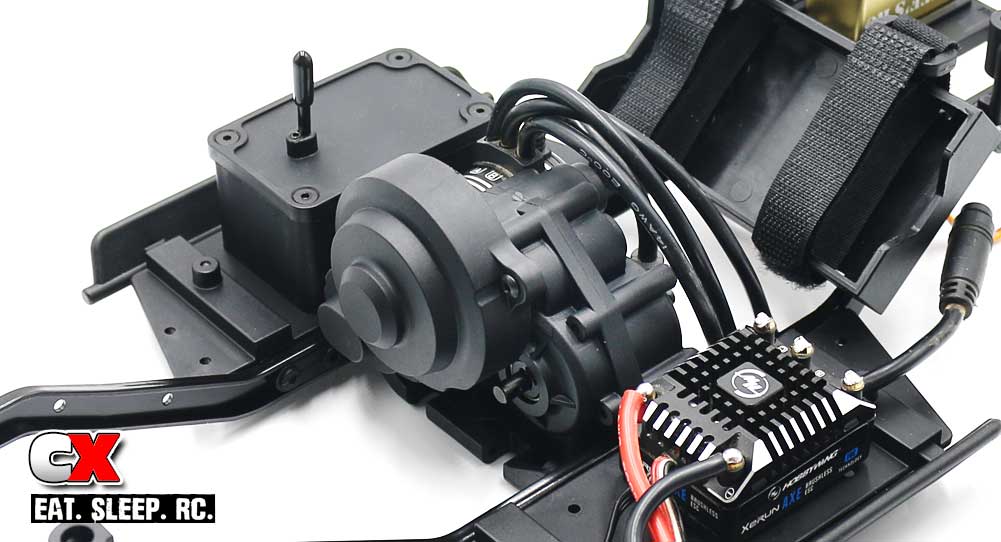
Step 10:
Attach the gear cover to the transmission, then the entire assembly to the chassis.
I’m happy that the transmission goes together easily as I may have to try the reverse-mount setup as well as all of the Overdrive options! That being said, we’re done with the Stealth X transmission – let’s move on to Part 4 – the Axles.
Use the links below to follow each step.
Element RC Enduro Trail Truck Build – Opening Page
Element RC Enduro Trail Truck Build – Part 1 – Pre-Build
Element RC Enduro Trail Truck Build – Part 2 – Chassis
Element RC Enduro Trail Truck Build – Part 3 – Transmission
Element RC Enduro Trail Truck Build – Part 4 – Axles
Element RC Enduro Trail Truck Build – Part 5 – Links
Element RC Enduro Trail Truck Build – Part 6 – Drive Shafts
Element RC Enduro Trail Truck Build – Part 7 – Shocks
Element RC Enduro Trail Truck Build – Part 8 – Body Mounts
Tony Phalen - As an avid RC enthusiast, Tony has been building, bashing and racing RC Cars for over 30 years. He has participated in every kind of surface racing events - 1/18 scale trucks, 1/10 scale TC, Rock Racers, Rally - if it had wheels, he's raced it! He's also worked on both sides of the industry fence; collaborating with many major manufacturers (as well as being a sponsored driver) to working for a high-profile industry magazine. During this time he has learned many tricks, tips and techniques and is sharing that knowledge on CompetitionX - the most informative RC website on the internet!